Warning: include(/home/blog66rr/public_html/wp-content/plugins/hyper-cache/cache.php): failed to open stream: No such file or directory in /home/blog66rr/public_html/wp-content/advanced-cache.php on line 24

Warning: include(/home/blog66rr/public_html/wp-content/plugins/hyper-cache/cache.php): failed to open stream: No such file or directory in /home/blog66rr/public_html/wp-content/advanced-cache.php on line 24

Warning: include(): Failed opening '/home/blog66rr/public_html/wp-content/plugins/hyper-cache/cache.php' for inclusion (include_path='.:/opt/cpanel/ea-php70/root/usr/share/pear') in /home/blog66rr/public_html/wp-content/advanced-cache.php on line 24
如何還原cpanel的備份檔案? (一鍵還原) – unethost無限空間虛擬主機 技術分享部落格

如何還原cpanel的備份檔案? (一鍵還原)

cpanel_restore_wp

在昨天是講解cpanel備份的方式
今天就講解還原的步驟。

(如果是使用我們無限空間的虛擬主機,請直接看結論)

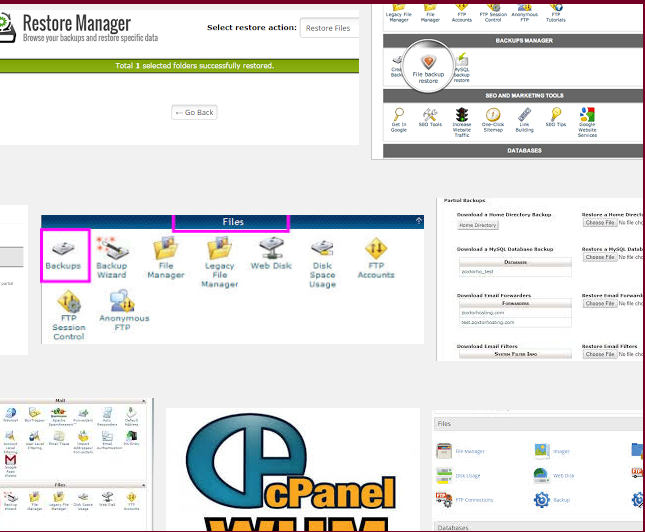
1.在cpanel > 備份精靈中,裡面也有還原功能。

cpanel_restore_01

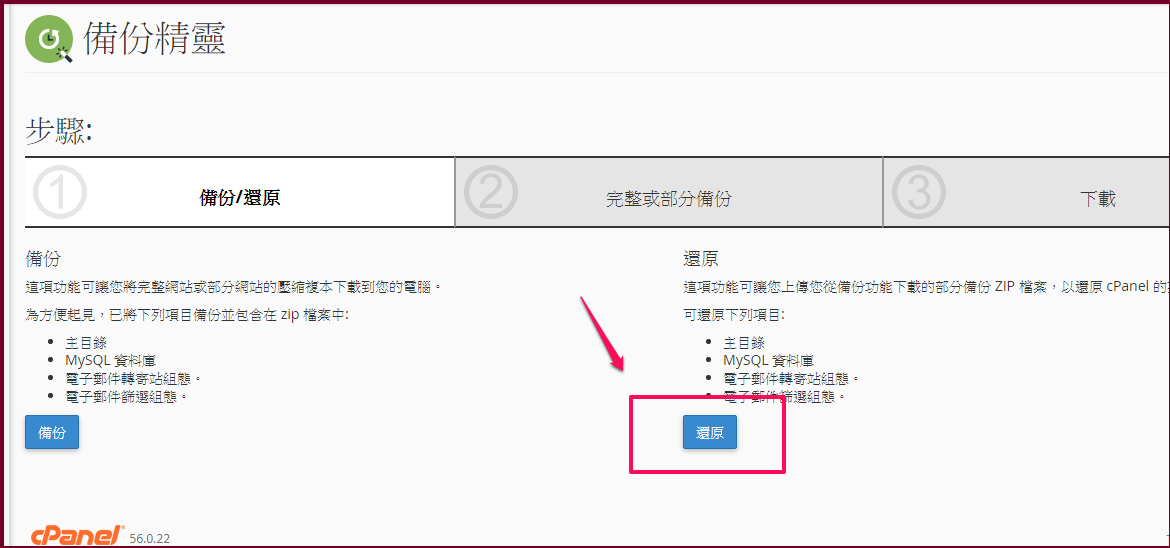
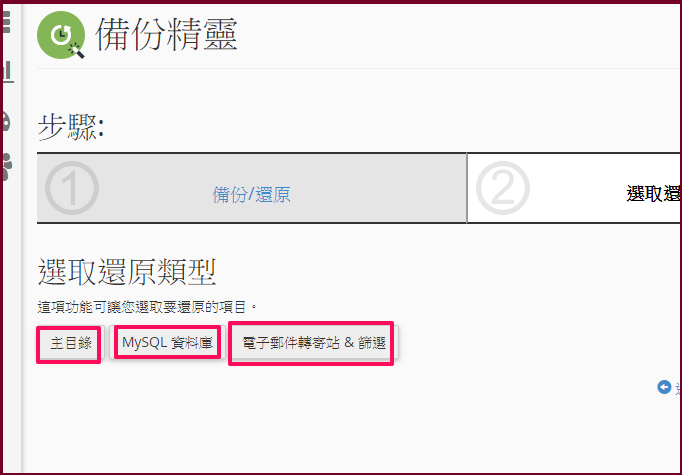
2.可選擇還原檔案,資料庫,e-mail…等等。

cpanel_restore_02

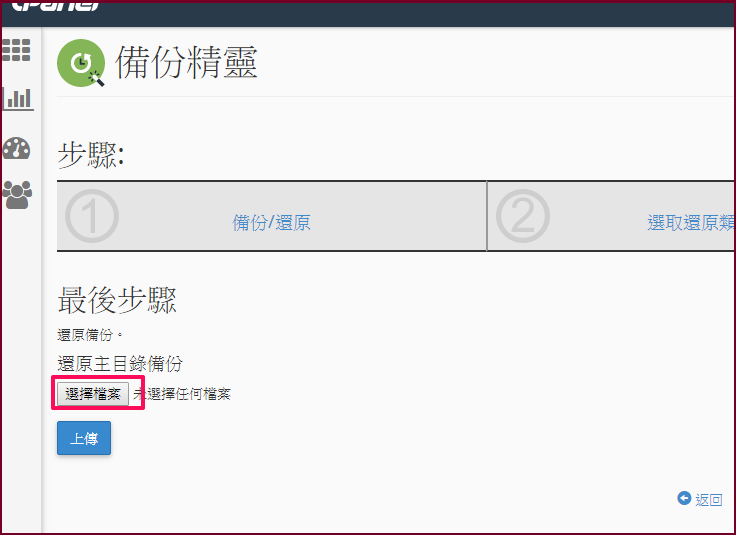
3.但是缺點是說,這個還原是從我們自己的電腦去上傳,
如果檔案太大,透過瀏覽器上傳時,可能很容易中斷
或是造成瀏覽器當掉。

cpanel_restore_03

所以把備份壓縮檔,先在自己電腦解壓縮後在查看,
檔案就是擺在homedir資料夾,資料庫則是mysql資料夾。
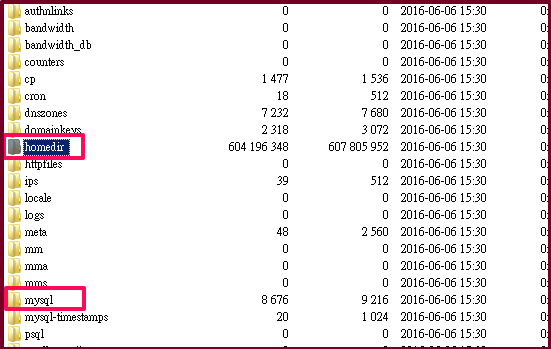
cpanel_restore_04


<以homedir資料夾為例>
在進去後,會看到跟登入空間ftp的根目錄資料一樣,

1. 如果不需要大量還原,則只要考慮將要還原的檔案,
透過ftp上傳,就可以省下許多還原時間。

2.如果需要大量還原,可以將public_html底下的檔案,都壓成一個zip檔,
在使用ftp上傳到主機上,在透過cpanel的檔案管理功能解壓縮
<mysql資料的還原>
1. mysql的資料部份則可以使用備份精靈還原,

2. 或是透過cpanel的phpmyadmin還原。
mysql備份檔,固定為xxxx.sql (xxxx為db name)。

3.如果檔案太大,一樣將資料夾檔案壓成zip後,
透過ftp上傳到空間後,在透過服務單通知我們匯入亦可。


最後如果上列步驟實在麻煩,
只要透過我們額外安裝的異地還原功能,
就只要一鍵還原,就可以還原到適當的日期。


(本篇教學由unethost.com客服撰寫)

延伸閱讀:如何備份Cpanel後台安裝的套裝程式?

安裝上述的軟體,我們提供虛擬主機試用,七天滿意保證,
功能完整使用不受限制,歡迎點我申請。