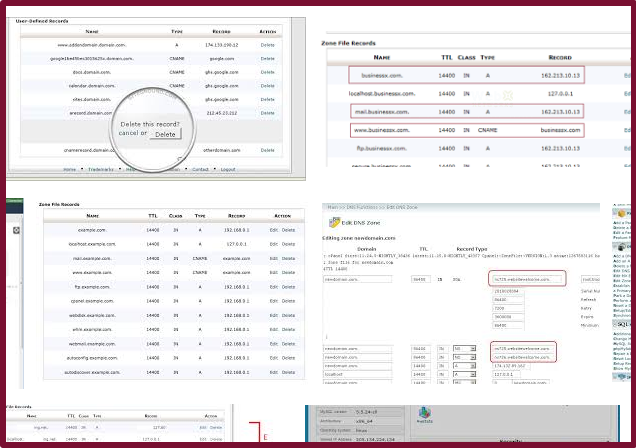
我們曾在”關於網域與dns server(name server) 設定概念”,以及
“免費 dns 代管介紹 (cloudflare的使用)” ,講解其dns作用。
如果今天是把網域的dns server,指向到我們的server,
但又想要增加次網域的A指向到別的主機,這時只要透過cpanel內建的功能就能解決。
開始操作:
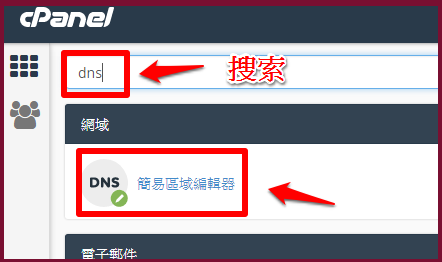
1.登入cpanel控制台。
2.快速搜索:dns,點擊出現的”簡易區域編輯器“。
3.如下圖所示,比方要將 hello.unethost.com 對應到IP:192.168.1.1
(請注意因為權限問題,一定會要求設定自己空間綁定的網域)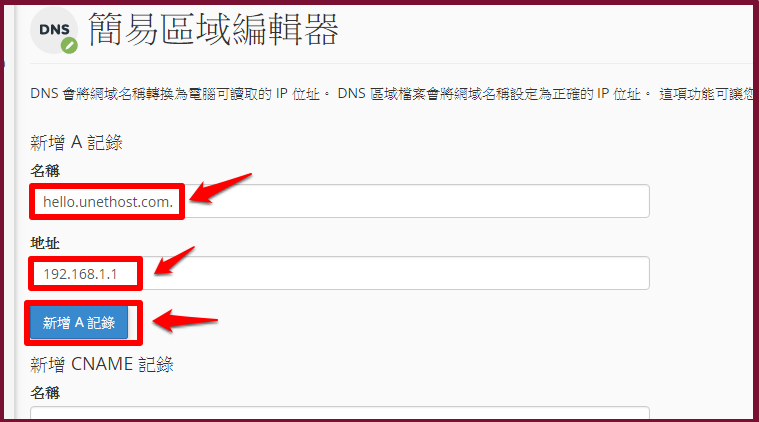
4.同一頁面往下拉,就會看到設定好的資料,或是可進行刪除。

設定完成,並等候一段時間後,在瀏覽看看是否有通。
(本篇教學由unethost.com客服撰寫)
延伸閱讀:如何備份Cpanel後台安裝的套裝程式?
安裝上述的軟體,我們提供虛擬主機試用,七天滿意保證,
功能完整使用不受限制,歡迎點我申請。