Warning: include(/home/blog66rr/public_html/wp-content/plugins/hyper-cache/cache.php): failed to open stream: No such file or directory in /home/blog66rr/public_html/wp-content/advanced-cache.php on line 24

Warning: include(/home/blog66rr/public_html/wp-content/plugins/hyper-cache/cache.php): failed to open stream: No such file or directory in /home/blog66rr/public_html/wp-content/advanced-cache.php on line 24

Warning: include(): Failed opening '/home/blog66rr/public_html/wp-content/plugins/hyper-cache/cache.php' for inclusion (include_path='.:/opt/cpanel/ea-php70/root/usr/share/pear') in /home/blog66rr/public_html/wp-content/advanced-cache.php on line 24
我該如何安裝或是設定php 函式庫(PDFlib)呢!? – unethost無限空間虛擬主機 技術分享部落格

我該如何安裝或是設定php 函式庫(PDFlib)呢!?

今天我們有虛擬主機用戶,通知我們要使用php的PDFlib。
通常我們在收到客戶請求後,就會先去 google 搜索一下要求的函式庫的設定方式,
而這次是PDFlib的,不僅多工(客戶要求->客服處理->客服回報->客戶),
還得消耗相當的閱讀,安裝,設定……等等時間。
1. 比如說,使用關鍵字搜索: pdflib centos6 ,出現在排序前幾名的網站。
pdflib01

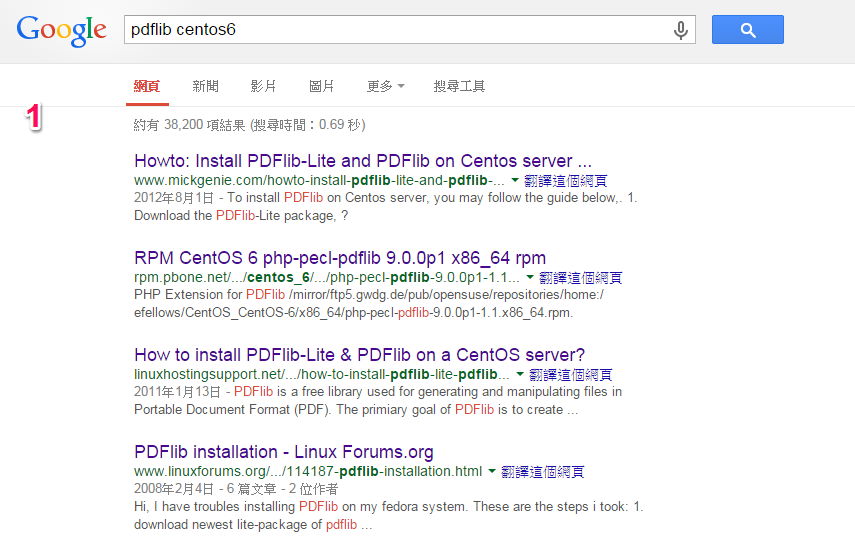
點進去看完安裝步驟,都是大約需要快10步的操作,而且不保證不會出錯,
要是安裝過程中,出現無法預期的問題(一種錯誤是安裝中的,但更多的問題是現有設定會跑掉),就得在根據錯誤訊息去debugs。 

2. 所幸在我們的虛擬主機上,已經導入了使用者可以自動調整php的系統,就擺脫了安裝php
    函式庫的痛苦,並改以設定取代了安裝。 使用我們的功能,就不是安裝,而是安純的設         定,而設定步驟是相當容易上手的,其步驟如下:

      (1) 登入cpanel
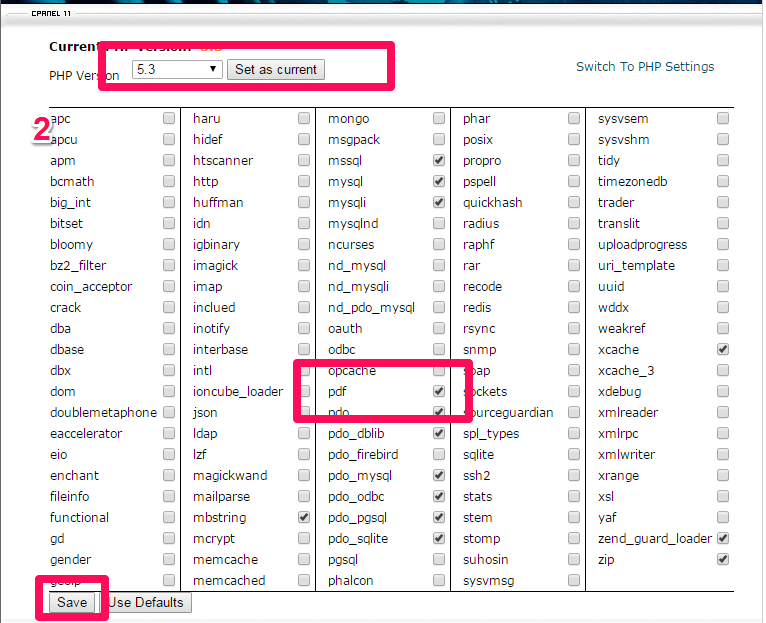
     (2) 點擊 select php version (icon)
     (3) 選擇 php 版本 ,及勾選相關的library,並存檔。
pdflib02
 (4) 查看 php info ,就可以查到相關函式庫被啟動了。
pdflib03


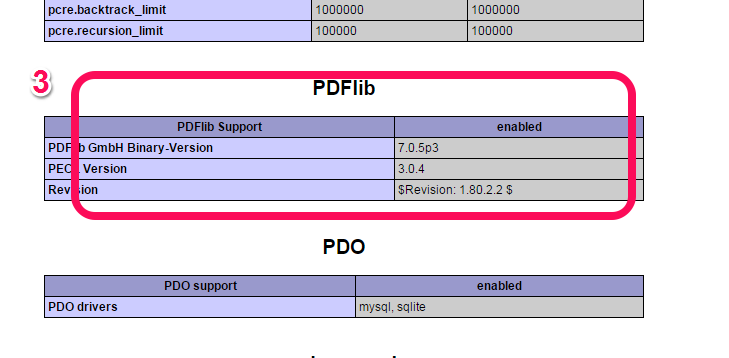
而且操作完,幾乎就是無痛的,也不需要在除錯(除非是程式撰寫有誤)或是得在添加其他lib,有空我們會在多多介紹。

操作上述的教學,我們提供虛擬主機試用,七天滿意保證,
功能完整使用不受限制,歡迎點我申請。