我們在上篇中: 如何設定主機或網站等相關密碼以提高安全性?
接到客戶搬站需求,並一併協助清楚了一些木馬檔。
清除木馬的關鍵在於:
a.主要是因為該站使用了套裝軟體,所以方便比對。
b.如果是自己開發的程式,就要考慮找原本的開發商協助處理。
c. 或是得用備份還原。
其實最好得找出被駭的原因(比方說程式老舊),
被駭的問題,才能真正告一段落。
因為木馬問題,這個網站在google搜索裡,出現了安全警示,
所以今天介紹使用 google webmaster tools,
來處理google搜索的安全警示問題。
(以免新訪客,看到警示後不敢登入網站,這樣無形中會損失很多新流量)

1. 請先登入google webmaster tools (需先註冊google帳號)
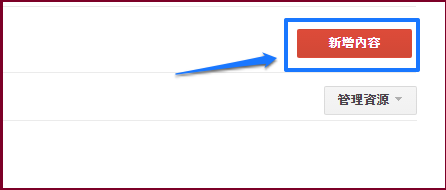
2.點擊頁面右方的: 新增內容
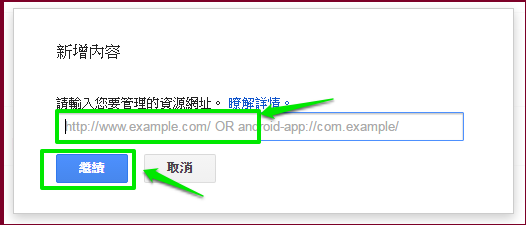
3. 輸入網址後,在點下繼續
4. 這時會被要求認證,操作步驟如下:
a.下載特定html 檔
b.將html檔透過ftp,上傳到網頁目錄裡
c.上傳完成後,在回來點擊:驗證

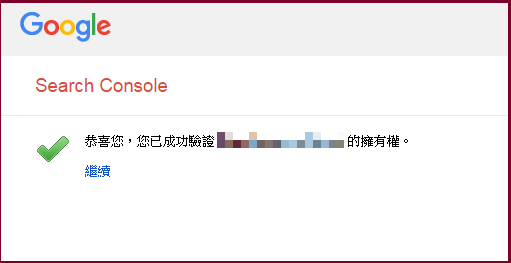
5. 驗證成功
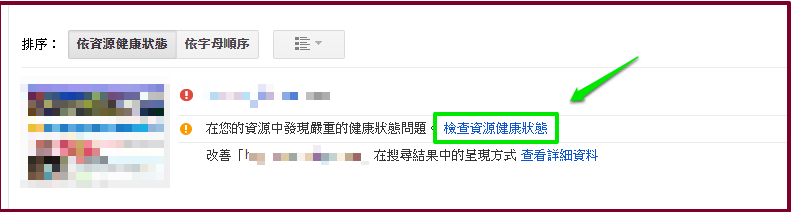
6.回到google webmaster tools首頁,
會發現該網站被警訊中,這時點下:檢查資源健康狀態
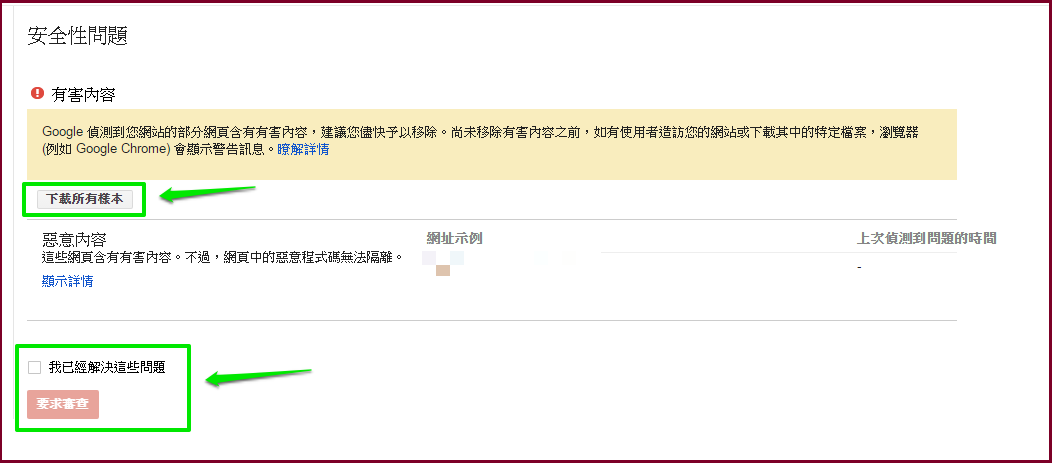
7. 在點下出現驚嘆號icon的名稱,如圖所示是: Malware deltected?

8. 這個頁面會將有問題的路逕提示出來,如果太多就可以選擇下載範本回去看。
這邊有提到是有問題的才會被列為審查,木馬檔如果是躲在還未出問題的路逕,
就不會被警告。
所以沒有出現警示,並不代表沒問題,這邊需要充份了解這個準則。
確定照指示清除後,在回來設定”要求審查“。
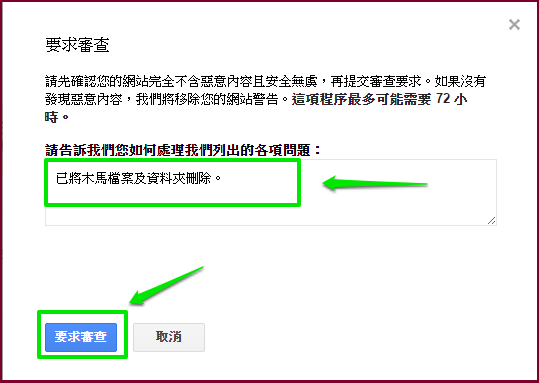
9. 填寫處理步驟後,在點下:要求審查
10.系統出現訊息,表示已經提交回去。
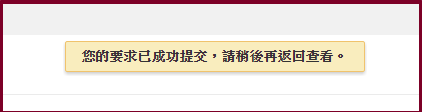
接著在等一兩天,可能會有新的提示,確定都處理完成,
就會解除警訊。
(本篇教學由unethost.com客服撰寫)
延伸閱讀:如何備份Cpanel後台安裝的套裝程式?
安裝上述的軟體,我們提供虛擬主機試用,七天滿意保證,
功能完整使用不受限制,歡迎點我申請。