更新網域的dns server或是ip時,如果只是透過isp的dns伺服器去等待更新,都會等的很痛苦;這時只要考慮將自己電腦的dns解析伺服器,切換成google公用的,就可以加速更新速度,而且更新完成後,網域也不會在新舊ip之間跑來跑去,穩定度是相當的高。
以下是介紹windows7的修改方式:
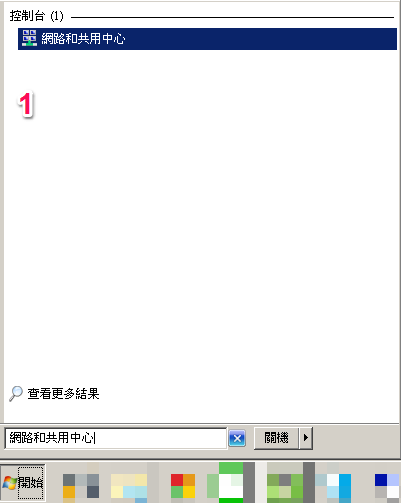
1.開始 ->搜索 ->網路和共用中心
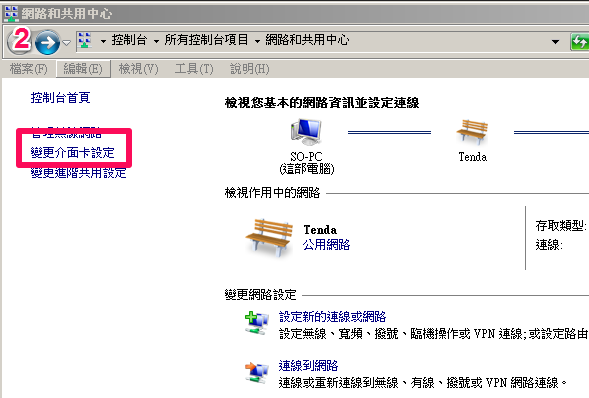
2. 變更介面卡設定
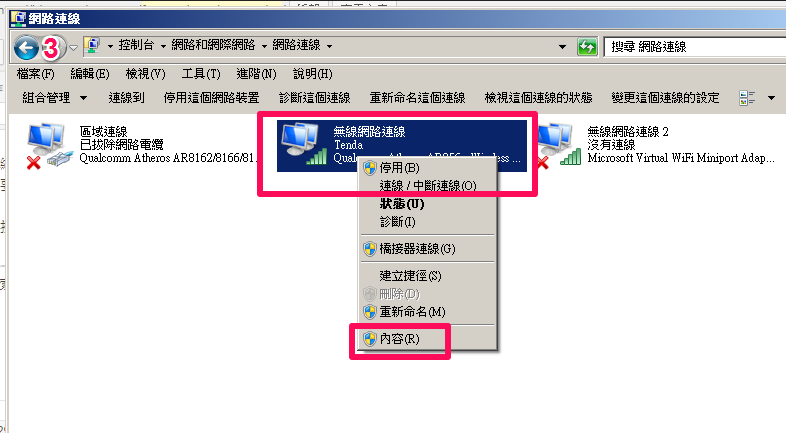
3.選擇現在上網的介面(比如說我們是無線網路) -> 滑鼠右鍵 -> 內容
4. 網際網路通訊協定第4版(TCP/Ipv4) -> 內容
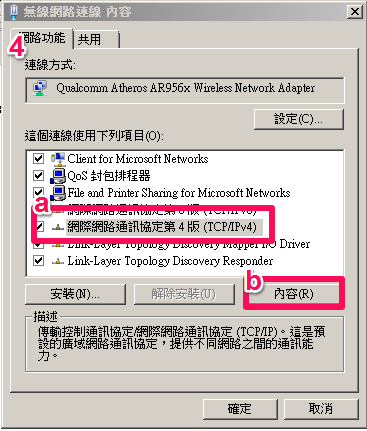
5. 使用下列的DNS伺服器位址(E): -> 在填入 8.8.8.8 以及 8.8.4.4 ->確定

如果設定順利(也就是設定期間沒有跑出錯誤訊息,或是設定完後,網頁反而無法開啟),
通常以我們的經驗,在修改完網域的dns server或是ip,大約數分鐘內就會完成新的指向。
查看更新的方式,就是到命令提示字元下,直接使用 nslookup 語法,
比方說 nslookup unethost.com 就會出現現在的ip,以了解是否更新完成。