Warning: include(/home/blog66rr/public_html/wp-content/plugins/hyper-cache/cache.php): failed to open stream: No such file or directory in /home/blog66rr/public_html/wp-content/advanced-cache.php on line 24

Warning: include(/home/blog66rr/public_html/wp-content/plugins/hyper-cache/cache.php): failed to open stream: No such file or directory in /home/blog66rr/public_html/wp-content/advanced-cache.php on line 24

Warning: include(): Failed opening '/home/blog66rr/public_html/wp-content/plugins/hyper-cache/cache.php' for inclusion (include_path='.:/opt/cpanel/ea-php70/root/usr/share/pear') in /home/blog66rr/public_html/wp-content/advanced-cache.php on line 24
如何快速安裝discuz (x3.1) – unethost無限空間虛擬主機 技術分享部落格

如何快速安裝discuz (x3.1)

我們把discuz x3.1 utf8 繁體版,整合進installatron,可避開使用ftp上傳,及建立msyql的麻煩,讓入門使用者,達到快速安裝不卡關。

以下是使用說明:

1. 登入 cpanel > installatron 。01


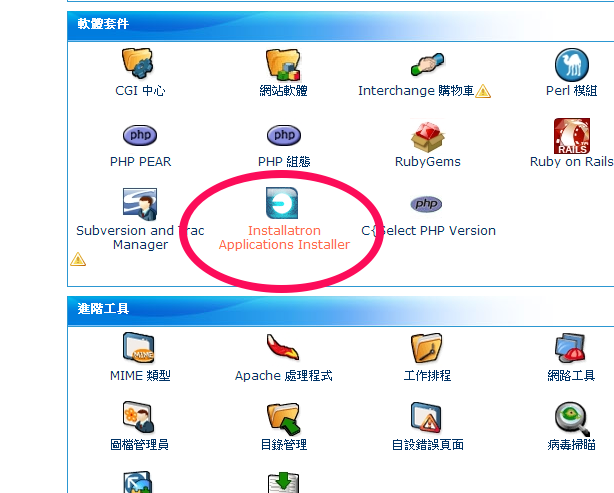
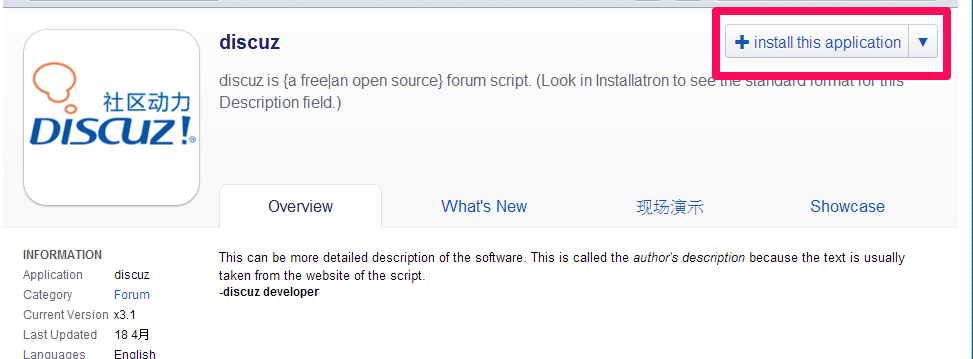
2. 找到 discuz icon,並點下去。
02


3. 點下 install this application 。

03


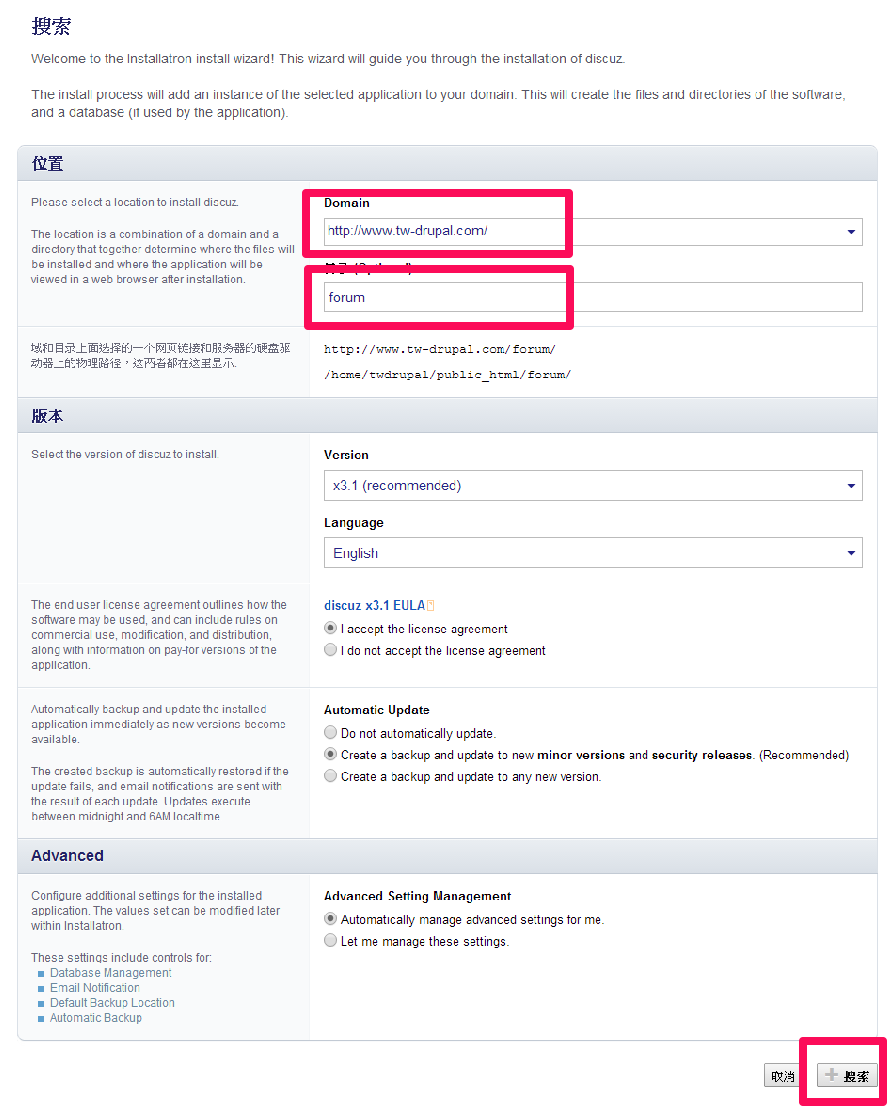
4. 可修改[Domain]及[安裝路逕],其他部份請保持預設,填入後,在點右下角的[搜索]。

045.安裝完後,會提示詳細路逕。請在將該路逕,貼到瀏覽器上。
05

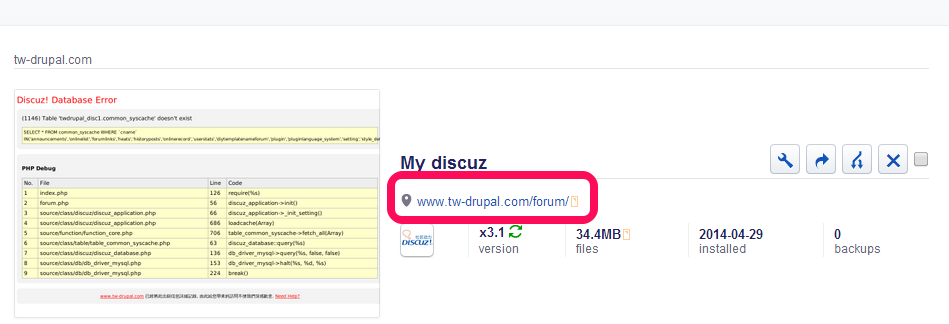
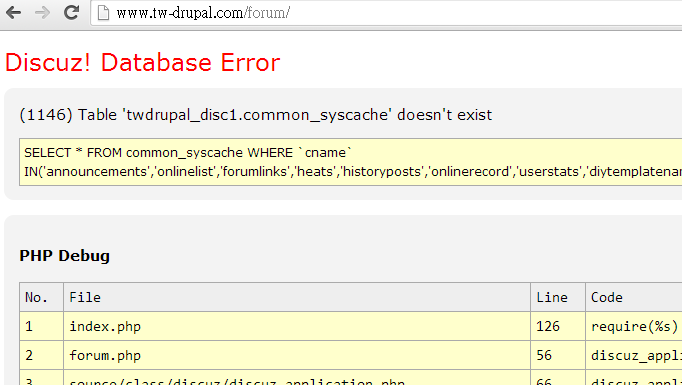
6. 貼到瀏覽器後,會提示錯誤訊息,這是因為安裝尚未完成,請在路逕後在加上 /install 。
06

7.加上 /install 後,開始論壇內部的安裝。
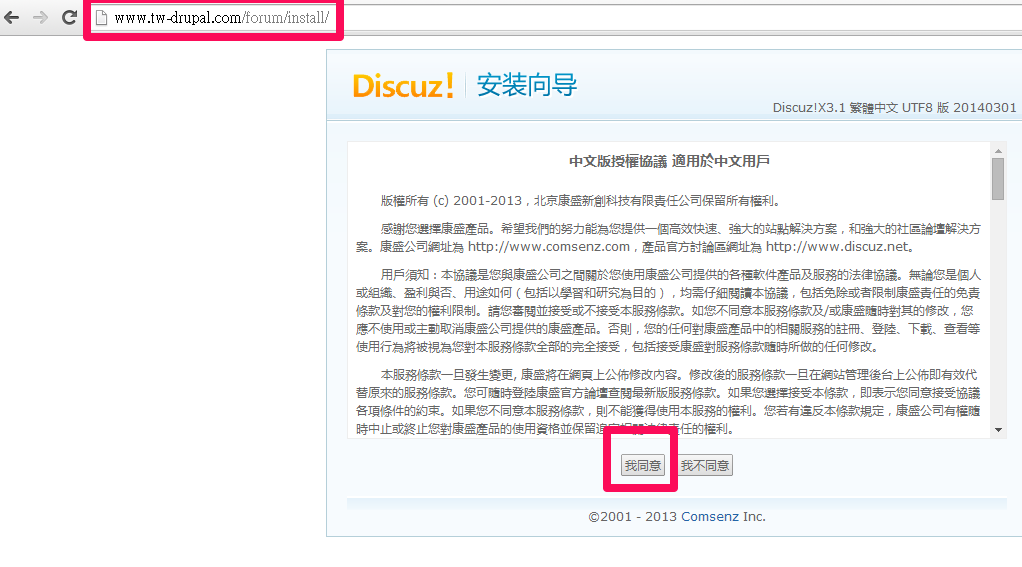
07

8.請點下一步。
08

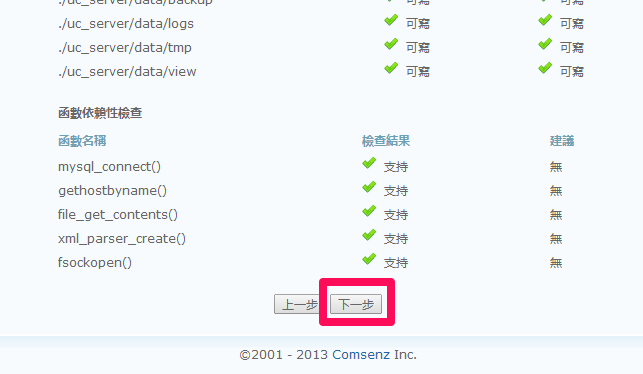
9. 第一次安裝,請保持預設,並點下一步 。
09

10. 資料庫相關資料,已經自動填妥,請在自行填入論壇管理員資料。並點下一步。
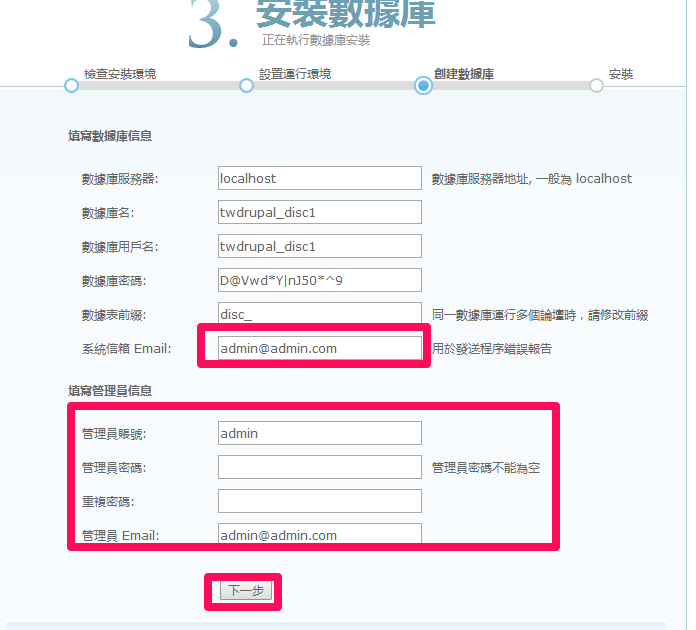
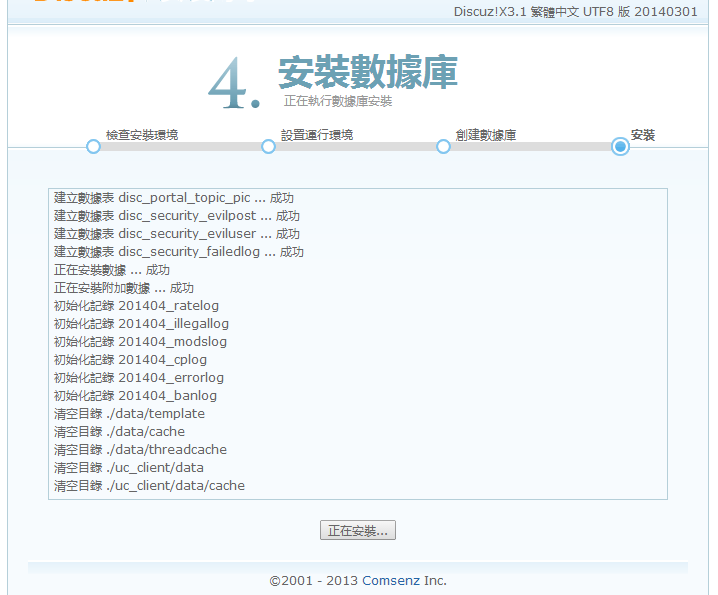
10


11. 論壇安裝資料中。
11

12.去掉/install,在回到首頁,錯誤訊息已不見了,論壇也安裝完成,並可使用。12


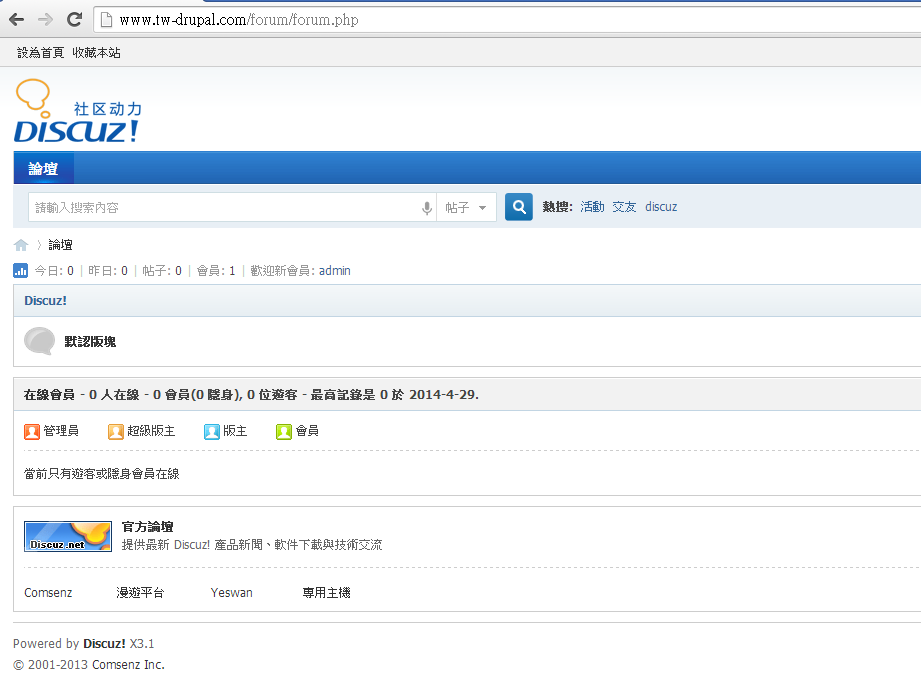
這樣的安裝方式,在unethost.com虛擬主機裡功能裡都已有設定好,請大家試試看。