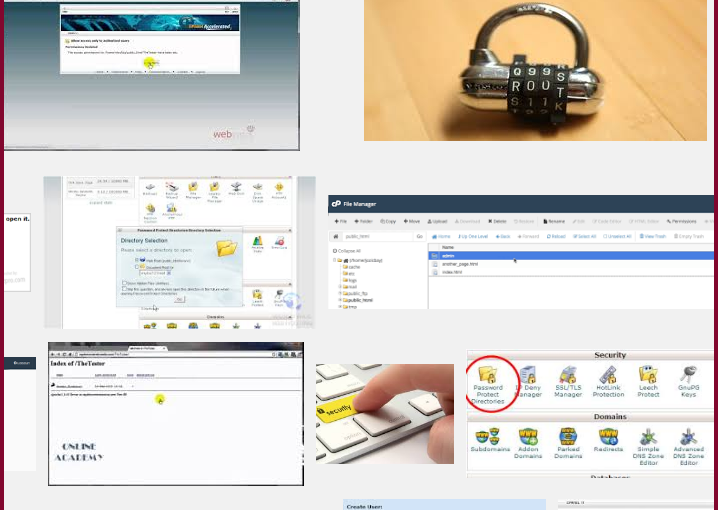
我們可以透過修改.htaccess,
以設定資料夾保護功能,但其語法不容易記住
若是用操作cpanel來產生加密,則是相當輕鬆。
請看我們下列的教學操作:
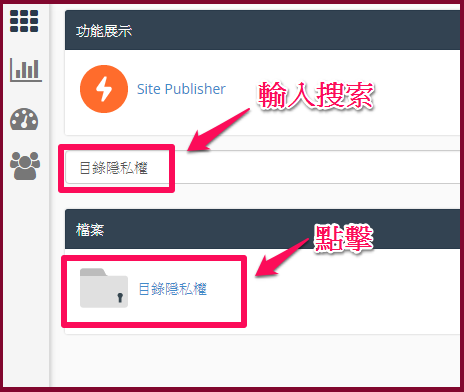
1.請先登入cpanel控制台
2.搜索:目錄隱私權
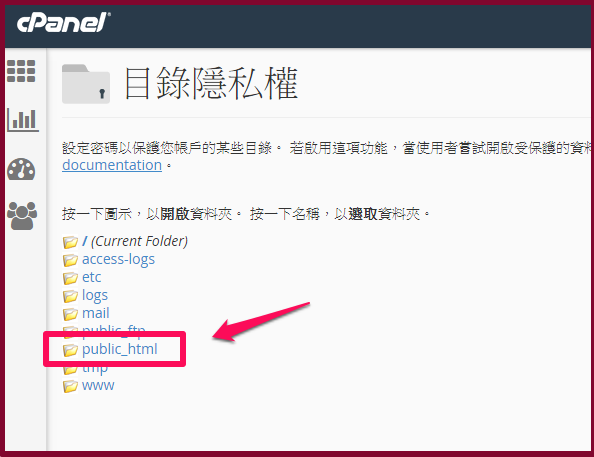
3.點擊名稱會加密整個/public_html資料夾,
點擊public_html前面的icon圖片,可以在設置子目錄。
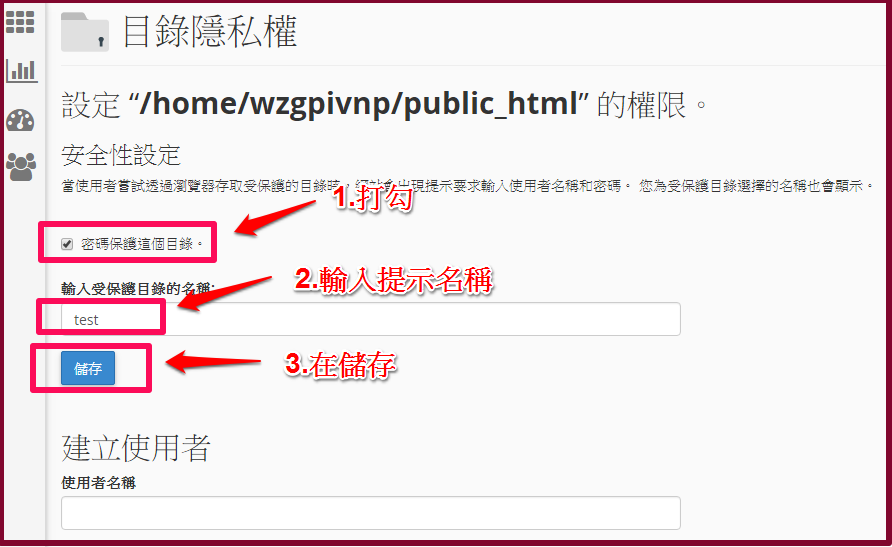
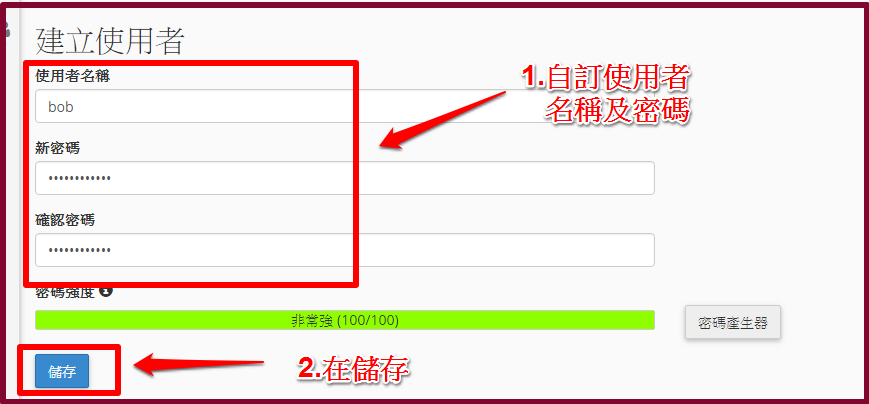
4.請照下列範例操作
5.延伸同上一個頁面裡,請照下列範例操作
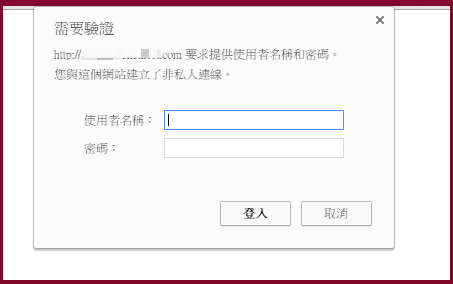
6.完成設定後,使用瀏覽器打開路逕,果然被加密了。
這個加密功能是相當實惠的,
比方說公司內部資料,或是個人私密網站,
都可以考慮使用這功能。
(本篇教學由unethost.com客服撰寫)
延伸閱讀:如何備份Cpanel後台安裝的套裝程式?
安裝上述的軟體,我們提供虛擬主機試用,七天滿意保證,
功能完整使用不受限制,歡迎點我申請。